Showing posts with label food. Show all posts

Monday, March 23, 2015

Ten Step Rice and Beans Recipe!


Cheap, Easy & Tasty Lunch! 


When I was home for reading week, I finally got to cook for myself again! (I know, I'm so hard done by). But anyway, in my excitement I tried out this little bit of a recipe, and I thought I would share it with you. 

Ingredients 


1. Kidney Beans
2. Minced Garlic
3. Onion
4. Cabbage 
4. Vegetable Oil
5. Water & Spices of your choice


1. Heat oil in a sauce pan on medium to high heat.


2. Chop onions. One small onion will probably suffice, but you can use your judgement for this.


3. Chop cabbage- again use your judgement.


4. Measure out minced garlic. Add garlic, onion and cabbage to the oil and sear it all together.


5. Add rice and appropriate amount of water to the mixture in the saucepan, boil for 20 minutes to cook the rice.


6. At this point, you might want to add some spices of your choice. This is kind of cheating, but I like to add some of this Mrs Dash. Its a cheap and easy way to add flavour.
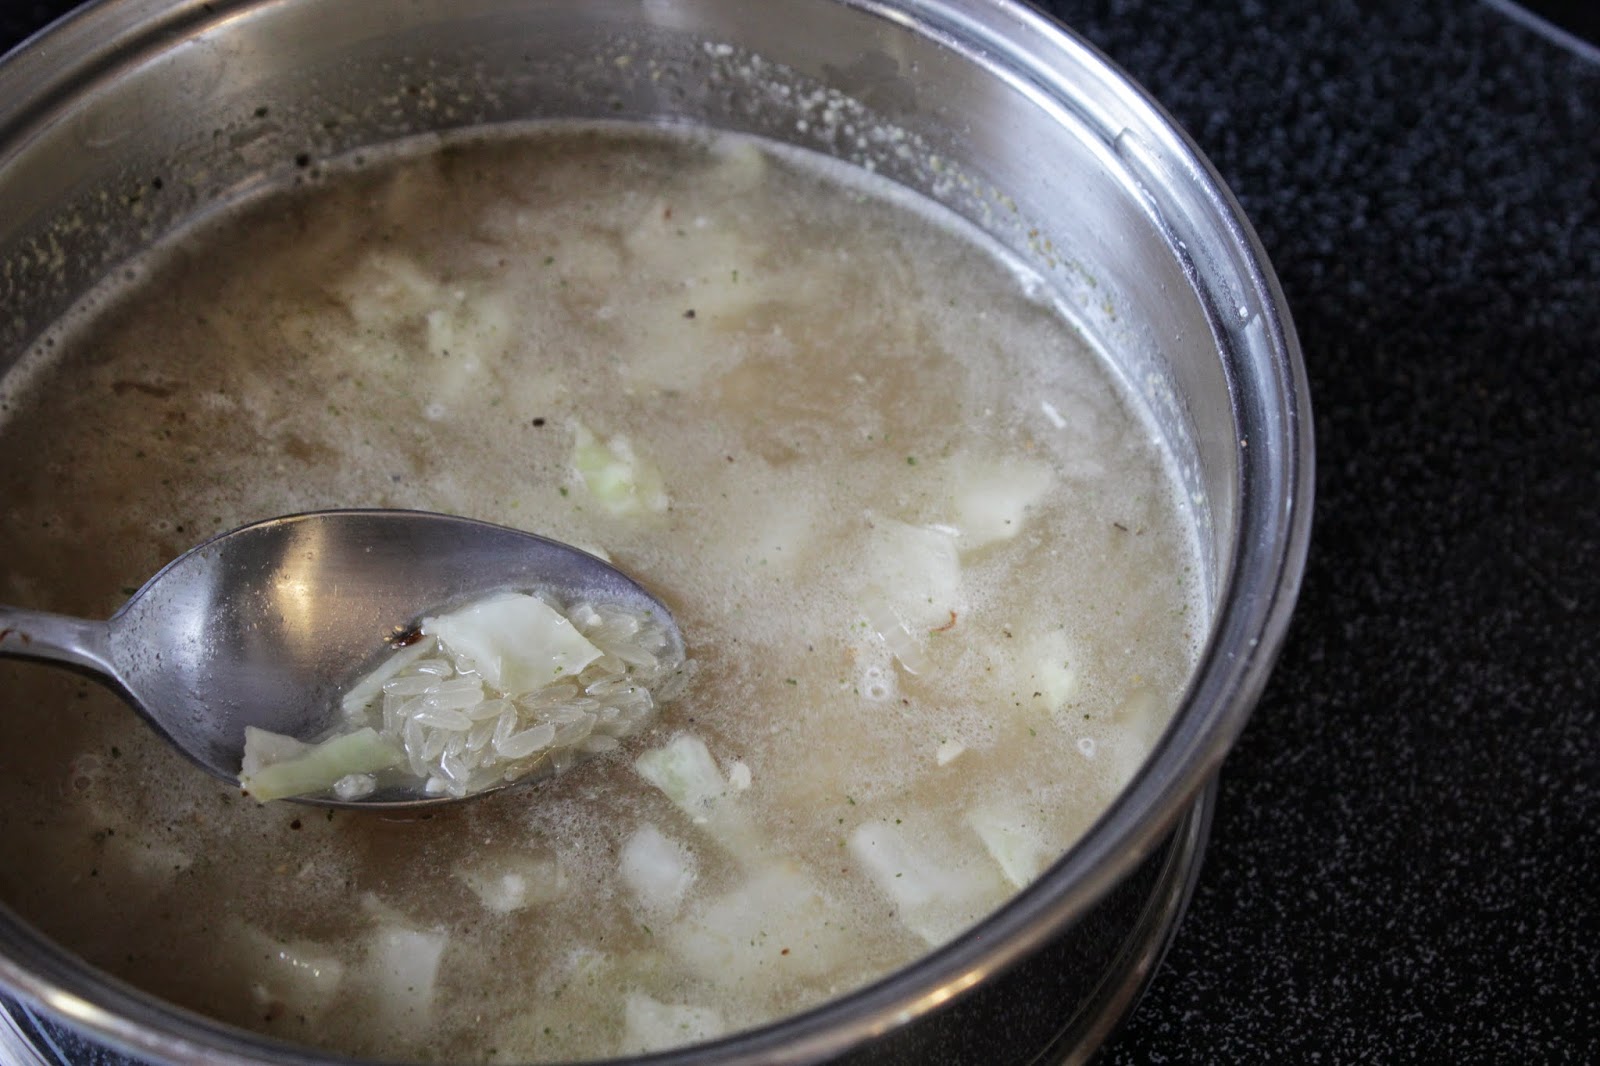

7. Cook for 20 minutes, or until the rice absorbs the water.


8. Once the rice finished cooking,  turn the heat to low and add your beans (just to heat them up). Then, add some Cayenne pepper for a bit of kick.


9. Mix it all together!
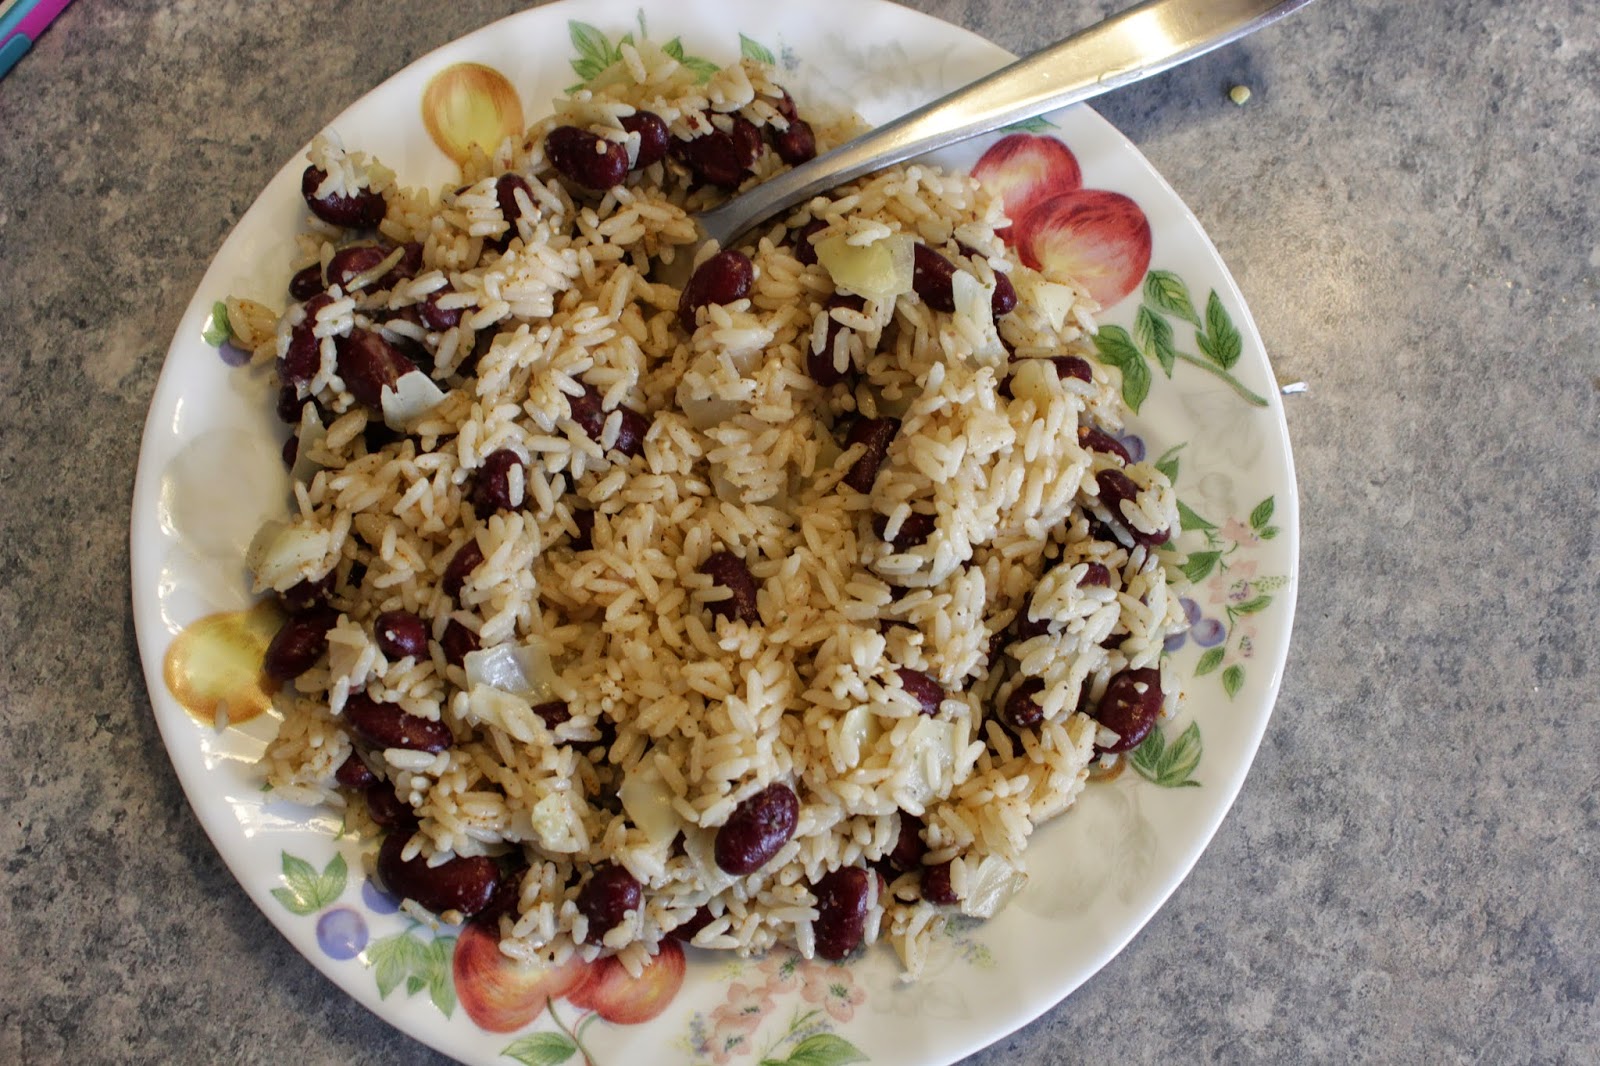


10. C'est fini!


Monday, March 9, 2015

Cute Cupcakes! Perfect Icing Recipe!


Being home over reading week last month, and finally having access to a kitchen again inspired me to do some baking. So I made vanilla cupcakes with my favourite frosting ever, "7 minute frosting," Check out the recipe below! 


7 Minute Frosting 

Ingredients


2 egg whites, unbeaten 
1 1/2 cups granulated sugar 
5 tablespoons of cold water
1 teaspoons of corn syrup
1 teaspoon of vanilla 

Directions


Combine egg whites, sugar, water and corn syrup in the top of the double boiler. 

Mix thoroughly.  

Place over rapidly boiling water and beat constantly with rotary beater until mixture will hold a peak. 

This requires roughly 7 minutes. 

Remove from heat, and add vanilla. Beat until thick enough to spread or pipe. 
TIP: Wait for the icing to cool before piping or spreading. It will firm up as it cools. 


Friday, January 9, 2015

DIY Holiday Gifts & Treats!


So, unfortunately, I'm really late to posting this. Dan and I made these really sweet treats long before Christmas, and I had planned to post it to give you guys some holiday baking inspiration. But, as it does, life got in the way. But better late than never, right? 


This year, for gifts for our families, we decided to make some treats rather than buying something. So, here are the things that we made: 

White Chocolate Popcorn 


How its Made: 
1. Pop some pop corn, and lay it out on a wax paper covered baking tray
2. Sprinkle some pretzels and M&Ms over the entire surface 
3. Melt white chocolate (either with a double boiler or microwave) and thoroughly drizzle over the entire mix. 
4. Let it set for an hour or so, and package. 


Chocolate Bark 


How It's Made
1. Melt white chocolate in double boiler or microwave. 
3. Pour white chocolate onto a baking sheet covered in wax paper. 
4. Let the white chocolate set for up to three hours, depending on the kind of chocolate and temperature of the room. You may want to leave it to set in the fridge. 
5. Once the white chocolate is set, melt milk chocolate, and pour evenly over the base of white. 
6. While the milk chocolate is still setting, sprinkle pistachios, almonds, dried cranberries, or whatever you'd like over the chocolate. 
7. Once the milk chocolate has begun to set for a few minutes, melt red-coloured chocolate and drizzle over the entire thing for some extra decoration. 
Finally, let the whole thing set for a few hours before breaking the bark and packaging it. 


DIY Gift Wrap

We also decided to make a bit of a home made packaging for our gifts. 


First, I designed an original Christmas card in Photoshop, and printed it off on regular printer paper. 


Then, I glued both the back and front parts of the card onto card stock, which I bought in a card making kit at the Dollar Store. 


Finally, I added some chalk board stickers, and wrote the names of the recipients on each. 


So, each of our parents and grandparents received this small gift from us, along with a personalized card.

I hope this was possibly helpful for some of you in the future, and that you enjoyed the photos :) If you made anything DIY for Christmas, I'd love to hear about it, so let me know in the comments!


Monday, August 11, 2014

Blue Ombre Cake


So I decided to make a cake today, inspired by How To Cook That's pink ombre cake, but I put my own twist on it. This is an angel food cake, with "Seven Minute Frosting" which I hear is similar to Italian meringue. Anyway I think it turned out pretty well, and it's tasty too! 


Hope you're all still having a great summer!